Installation recommendations for UMH appliances
Congratulations on your purchase of this versatile original product from UMH. They have been lovingly handcrafted in Austria. You can use your high-quality UMH device as follows:
Installation recommendation UMH Pure
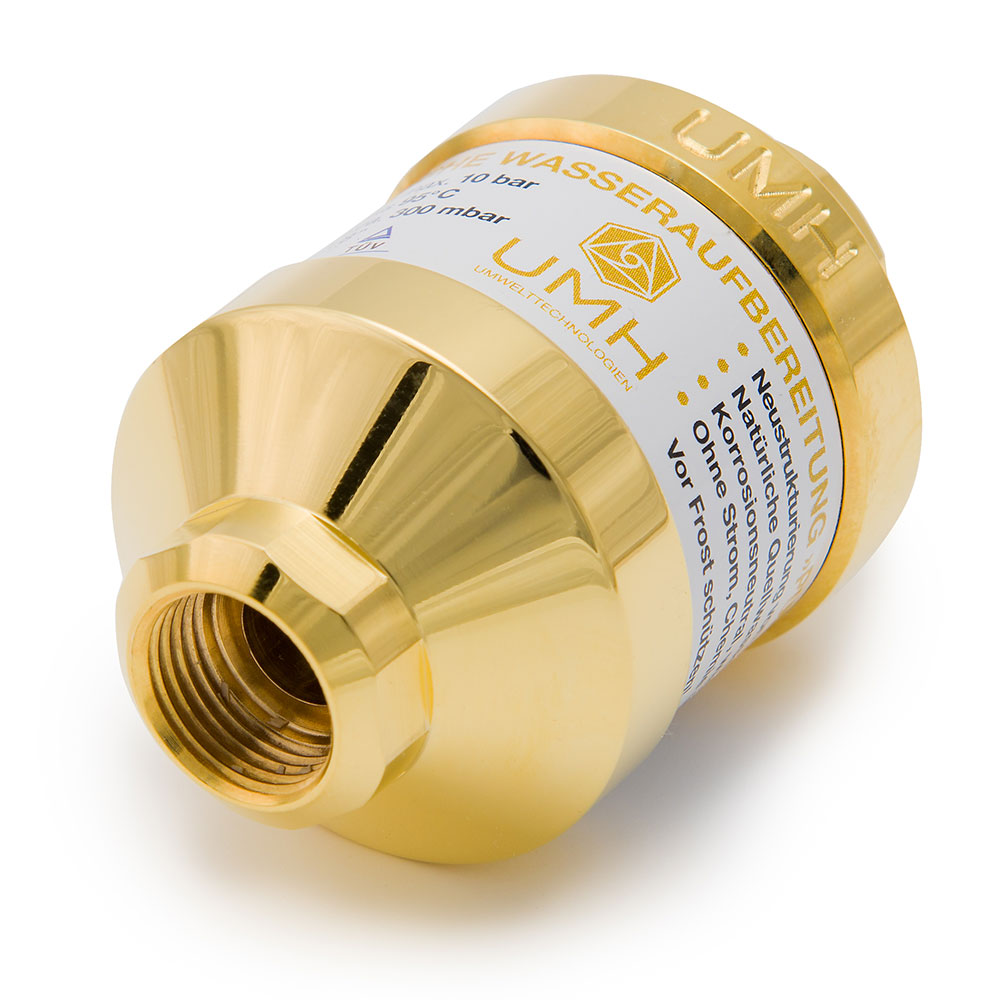
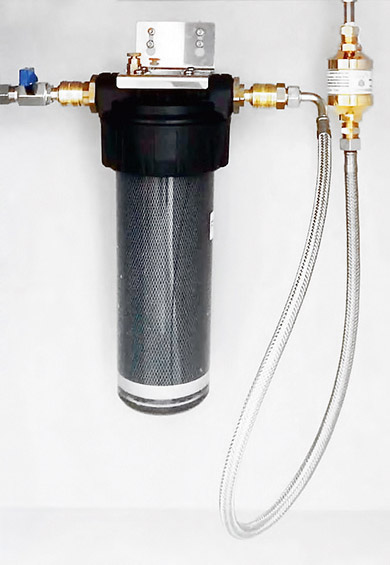
UMH PureI. Filter assembly:
To install your Pure Gold/Rhodium universal appliance after a filter housing, proceed as follows:
Insert the seals and mount them vertically with legible lettering on the filter outlet hose in front of the tap. (The adapters are located under the foam).
For horizontal installation, see point III.
II. mounting on the angle valve:
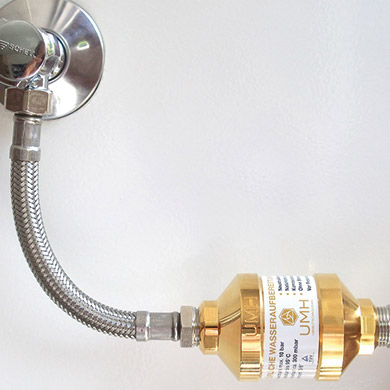
With a short reinforced hose (available as an additional component or via a DIY store), you can also install the UMH Pure appliance directly on the angle valve of the cold water connection.
III Mounting direction of the Pure Gold/Rhodium:
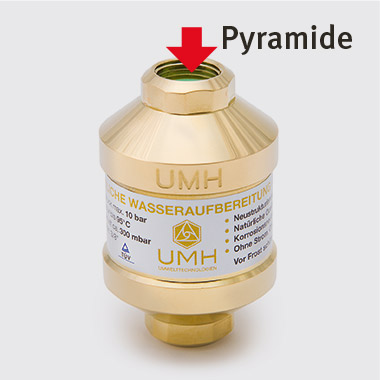
Please place the UMH Pure with a legible label in a vertical position.
If the device is installed horizontally, the water should first flow onto the rock crystal pyramid visible in the device.
Installation recommendation UMH Comfort
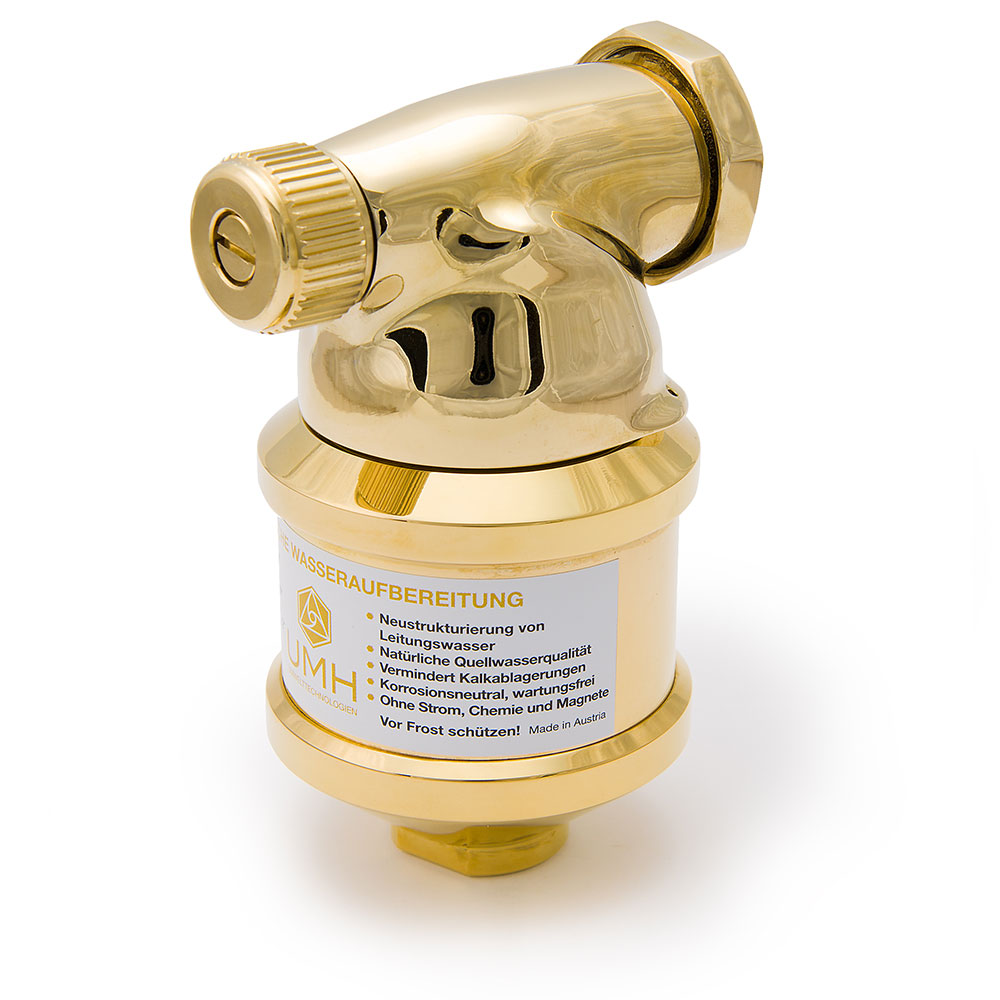
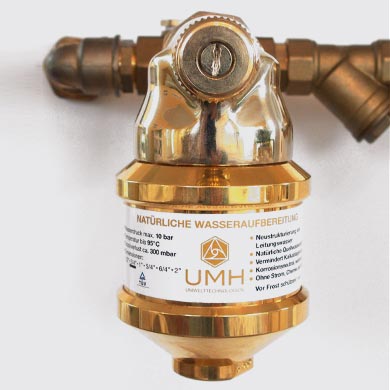
I. Assembly preparation:
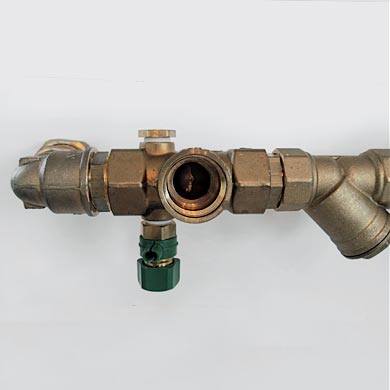
Close all shut-off valves. Open a nearby tap from the installation location to depressurize the line. Unscrew the upper part of the concealed valve and clean the valve seat
II. assembly:
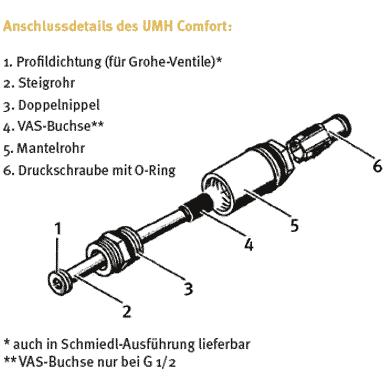
1. slide the union nut (7) over the casing pipe (5)
2 Screw the casing pipe (5) and double nipple (3) together.
3. screw the pressure screw (6) 3 to 4 threads into the outer casing (5).
4. insert the riser pipe (2) into the casing pipe (5)
5 Screw the entire unit firmly into the lower part of the valve using the double nipple (3).
ATTENTION: If the double nipple has a PTFE sealing ring, it must not be hooked in, just apply a thin layer of silicone grease.
6. tighten the pressure screw (6) with an Allen key (11 mm) so that the riser pipe seal seals.
ATTENTION: When tightened, the pressure screw (6) must protrude at least 18 mm and max. 27 mm from the casing pipe.
7. press the UMH Comfort device over the end of the pressure screw onto the casing pipe as far as it will go.
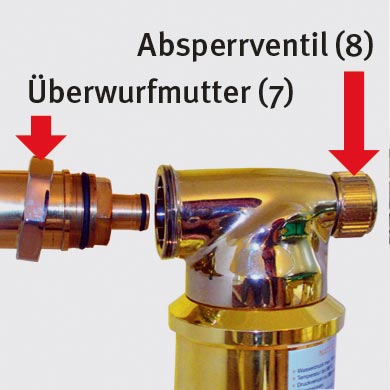
8. screw the UMH Comfort device tight with the union nut (7).
9. close the shut-off valve (8) on the appliance. Slowly open all shut-off devices. Check all installation points for leaks.
Installation recommendation UMH Master
Installation instructions:
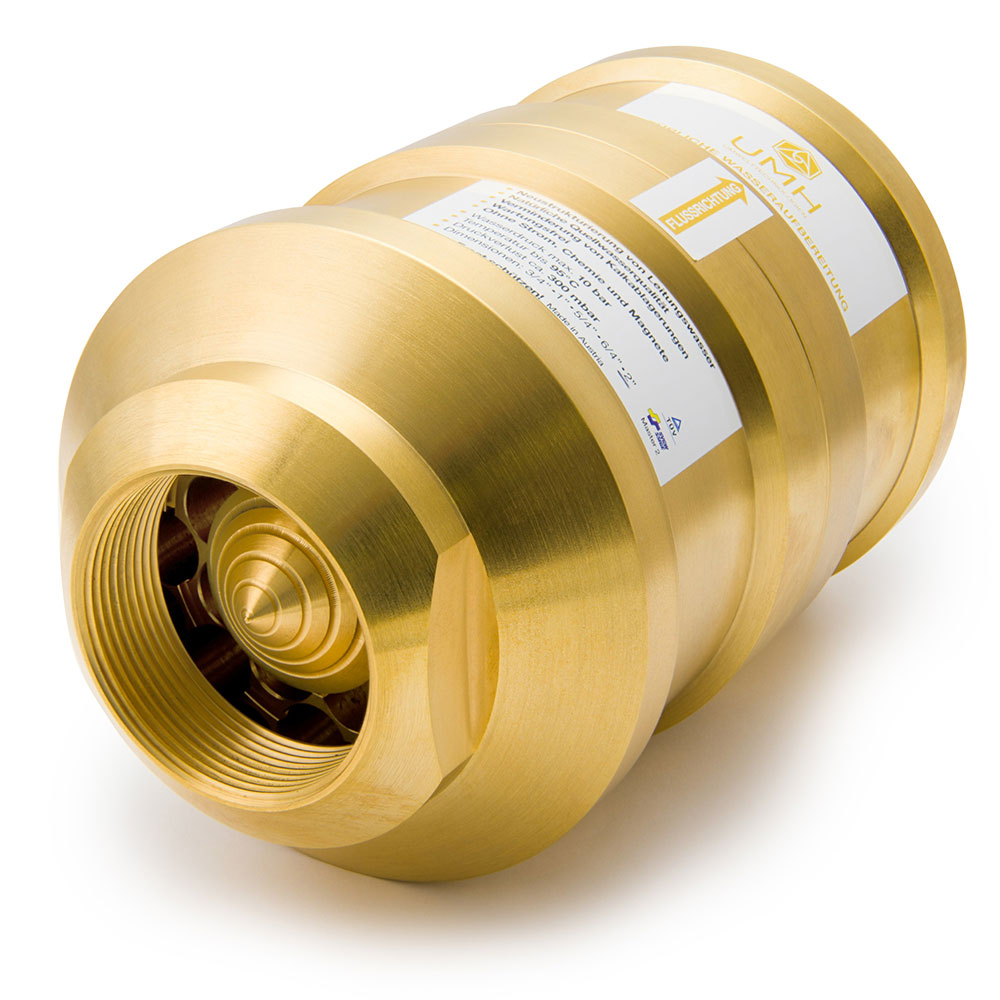
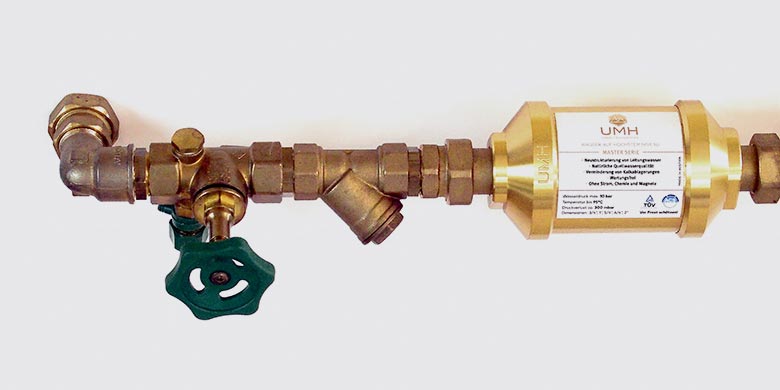
This high-quality UMH-Master device is installed downstream of the coarse dirt filter and the house water meter so that the garden pipe is also recorded.
They can be installed horizontally or vertically. A flow direction only needs to be observed if this is indicated directly on the device.
II. Warning:
Please do not install in the vicinity of high-radiation electrical appliances or power
lines.
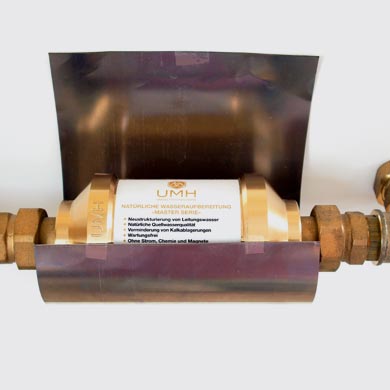
If necessary, an MU protective film can be placed around the device to shield it from electrical and magnetic fields.

Installation recommendation UMH Heat
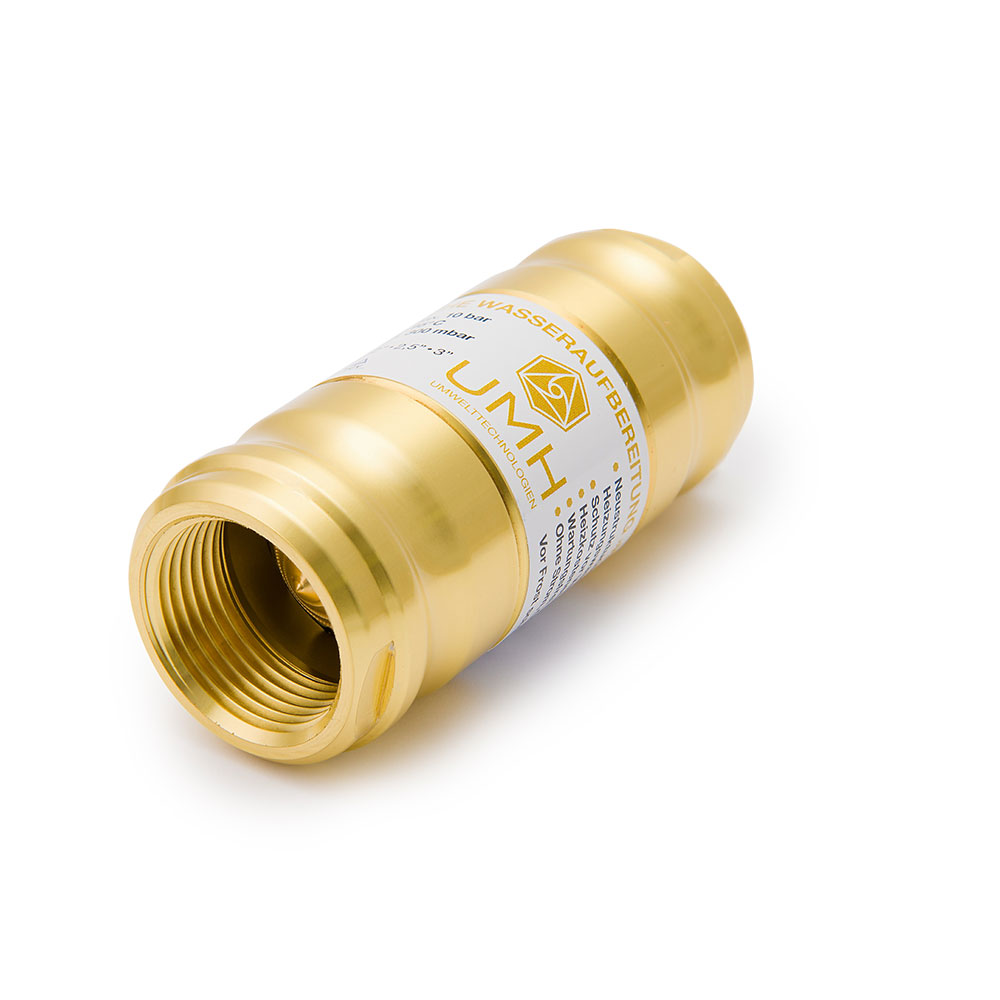
Installation instructions:
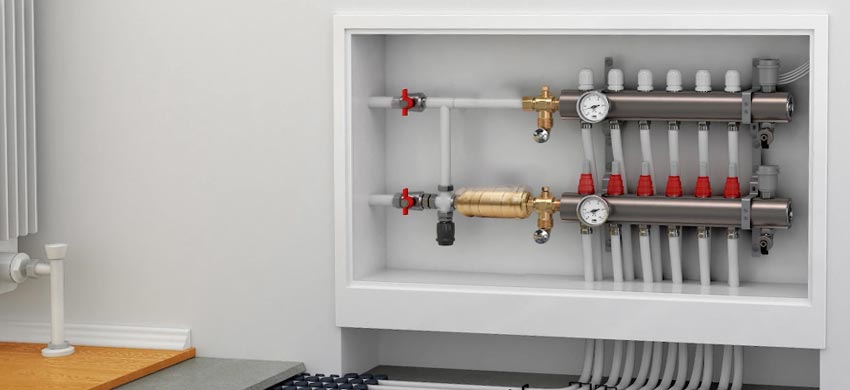
This high-quality UMH-Heat device is installed downstream of the circulation pump in the flow of the heating circuit. It can be installed horizontally or vertically.
A flow direction only needs to be observed if this is indicated directly on the device.
II. Warning:
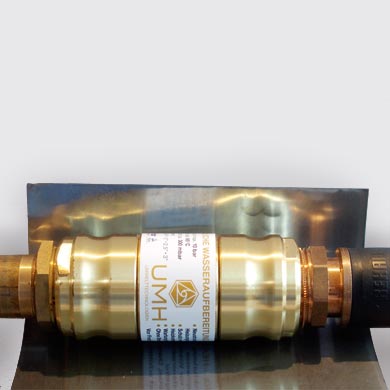
Please do not install near high-radiation electrical appliances or power lines. Please keep a distance of 50 cm from the circulation pump. If necessary, an MU protective film can be placed around the device to shield it from electrical and magnetic fields.

Installation recommendation UMH Live

Note
These installation instructions apply to both the standard gold version and
the rhodium version.
You can also use the UMH Live with special plug-in adapters on a Carbonit SanUno countertop filter.
All necessary adapters are included in the scope of delivery. These can be found in the packaging under the foam.
I. Faucet device:
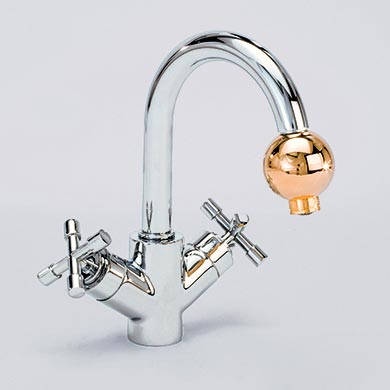
To install your Live Gold universal device on the tap, proceed as follows:
1. unscrew the faucet aerator.
2. if you now see a fine external thread on the tap, you can screw the ball with seal directly onto it. If your tap has an internal thread, first screw the supplied transition adapter (A) into the ball and then screw the UMH device with seal onto the tap.
II Shower unit:
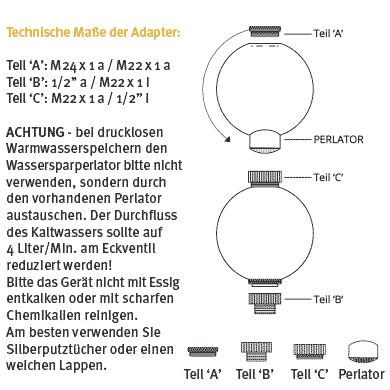
Use the thread adapters to convert to a 1/2” metric thread. Follow the instructions below.
1. unscrew the aerator from the ball using a 22 mm open-end wrench or combination pliers.
2. screw in transition part ‘A’ instead of the aerator.
3. screw transition part ‘B’ onto the thread of part ‘A’.
4. screw the enclosed transition piece ‘C’ into the opposite
thread. This allows you to use the UMH Live to energize your shower, bath or garden water.
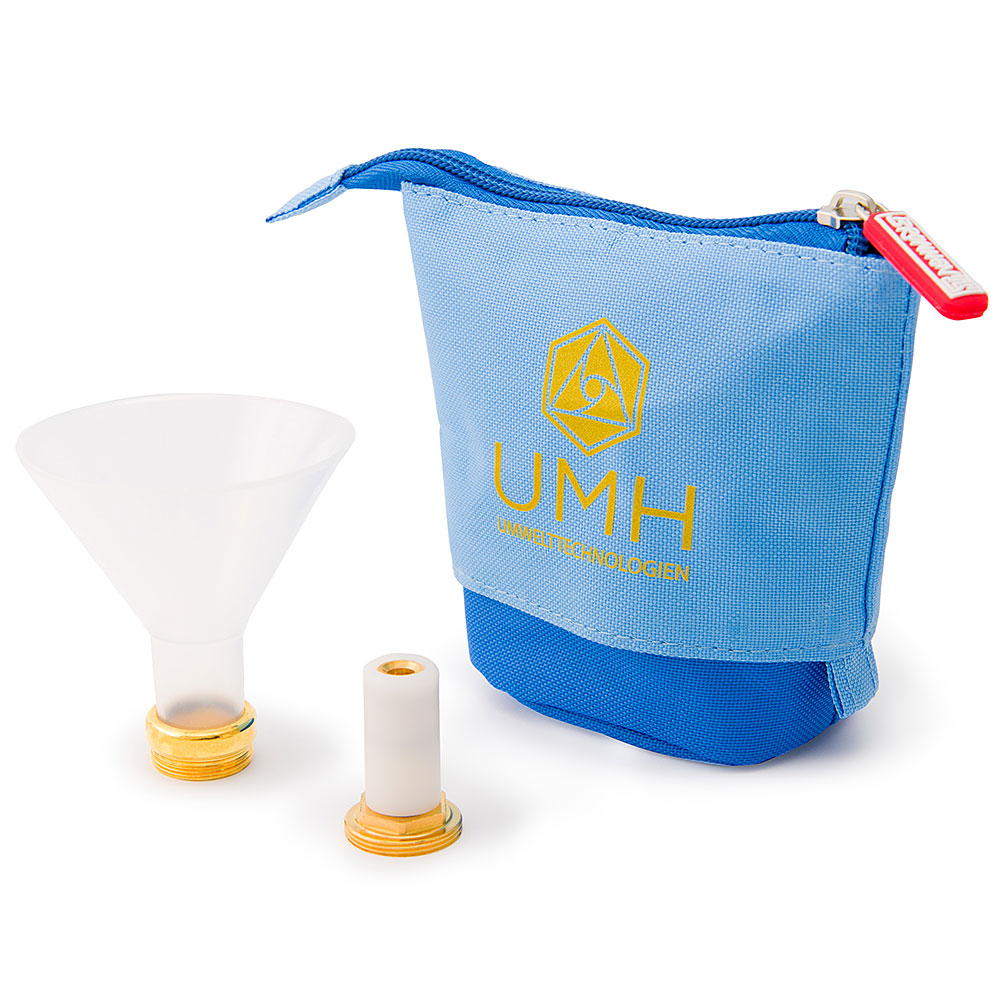
III. travel set: (to be ordered separately)
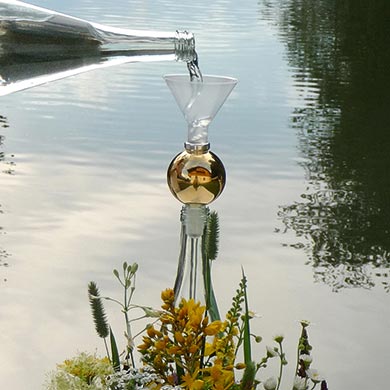
When you travel, bring your UMH device with you to enjoy the benefits of energized water on vacation and at work. Screw the funnel into the ball and replace the aerator with the included spout from the travel set.
